...well, maybe not a tutorial per se, but a quick tip - one of the things I've gotten positive comments on with my scratch-building projects is the look of my rivets:
They really add a nice touch to projects, and look way better than rivets made from dabbed-on PVA glue. The good news is that they're dead easy to do:
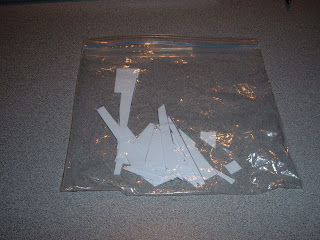
This is a bag of plasticard scraps that I keep around - whenever I finish a project using plasticard, I throw the larger scraps in a baggie that I keep with my supplies.
This is a hole punch that I got at my local craft supply store - I believe it is 1/8". This is small enough for vehicles, walkers, etc. - unfortunately, it's not small enough to make rivets to be used on troops (I'm still hunting for one of those).
I just take a scrap of plasticard and start punching holes in it - the "rivets" are held in a little built-in tray in the hole punch.
After you've punched out your plasticard, hold open the little tray on the hole punch and shake out the rivets. (It's helpful to do this over a dark piece of paper, so you don't lose any).
I pour all the rivets into a small baggie, and keep them with my scratchbuilding supplies. To apply the rivets, I dip a toothpick into superglue and apply it to the surface - then I take a fresh toothpick, touch it to my tongue, and use it to pick up & place the rivet. That's all there is to it!


No comments:
Post a Comment