

...there it is completed, pretty much by the book - it is missing one thing: I wasn't going to miss the opportunity to make a Green Stuff press mold of the cool Ork skull periscope cover:


...anyway, as I mentioned before, my Battlewagons are going to have Deffrollas, but I'm not convinced I want to spend the money on the Games Workshop Battlewagon upgrade pack - it includes a Deffrolla, a Killkannon, and a Grot rigger. I already have some leftover Killkannons and a whole box of Gretchin that I'm probably going to model as fluff, so I'd be paying $13 for just the Deffrolla, and it looks dead easy to build with stuff that I mostly have on hand already, so I thought I'd give it a shot.
This is my starting point - 3/4" PVC couplers:

I picked these up and the local home improvement store in the plumbing aisle - they were around 23 cents apiece. If you're the kind of person who saves every empty bottle & container that comes your way for modeling purposes, there are lots of other possibilities that could be approximately the right size - pill bottles, tomato paste cans, etc. Space is at a premium in my house and my wife put an end to my hoarding, so I just picked these up.


I wound up going with the second configuration - one coupler and one reducer. This will actually require some creative use of spacers later, but the two couplers together just looked too wide to me. I glued them together with a generous amount of gap-filling superglue:

To close up the ends, I traced the openings onto a piece of plasticard and cut them out:


Then I glued them over the ends:

I cleaned up the edges of the plasticard with my jeweler's files.
Next, I needed a way to cover up the big seam between the two PVC pieces, and I wasn't really looking forward to using Green Stuff to close the seam. Digging through my conversion bits, I found a sprue of chains from the Reaper Razig weapons pack:

I cut off a few of the chains, and glued them into the gap:

Next, I wanted to add some embellishment to the the rolla, as well as cover up some of the imperfections in the surface of the PVC (apparently, manufacturers of plumbing parts don't have the same high standard for their moldings as GW). I cut a strip off of a sheet of plasticard, and just cut it into random rectangles & triangles:


...then I glued them onto the rolla. I bent the larger ones around the barrel of my hobby knife first, to ensure they conformed to the shape of the cylinder while the glue was drying.

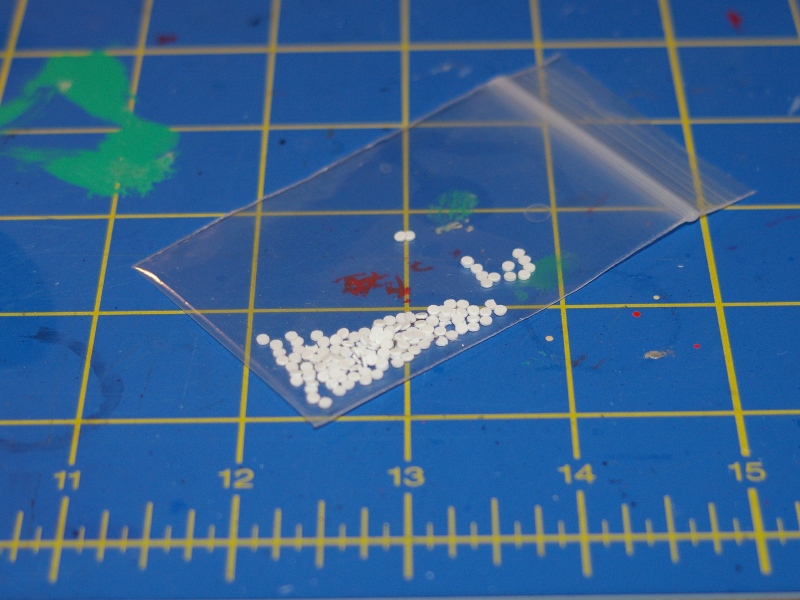
To give them a bit more detail, I turned to a baggie of rivets I keep on hand - I previously made these by punching out scraps of plasticard with a tiny hole punch:
I used a toothpick to superglue the rivets on to the plates:

Next, I decided to turn my attention to how I was going to attach the Deffrolla to the Battlewagon. I started by using my straight edge to cut some strips of foamcore board:

Then, I just started "eyeballing" it - holding the strips up to the Battlewagon, trimming them, playing with the angles, the thickness, etc. - once I was done, I had something that looked like this:

Then I glued them together using my hot glue gun:

The foamcore board is actually just to give me the shape & thickness that I want: it's too flimsy to hold up over time - for that, we're going to cover it with plasticard. I started by tracing the foamcore shapes onto plasticard:

...then I cut out the shapes and used my hot glue gun to attach them to the foamcore:


I repeated this process for every side, until the original piece was entirely "encased" in plasticard:


Next, I need to find a way to attach the arms to the Battlewagon itself - after digging through my supplies, I found a bag of small dowel rods:

These just happen to be just the right size to fit in the mounting points on the Battlewagon:

...I will cut them to size and shape them a bit later. To attach them to the support arms, I drilled a hole:

Then I opened the hole up with my hobby knife until it was big enough to insert the dowel rod through:

Now, I need to figure out how to attach the rolla itself to everything else. After test fitting everything together a few times, it became obvious that I was going to need some kind of spacer between the arms & the rolla for it to look right. After going back to my supplies again, I found these tiny wooden spools I picked up at the craft store at some point:

They were too wide, so I cut one in half with my utility knife:

Then, I found the approximate center of the rolla with my straight edge (this is where having a cutting mat with a grid comes in handy) and glued them on:


Now, to make the connection from the lower end of the arms and the rolla, I went back to the Razig weapons sprue - but this time I'm concerned with the harpoons:


At this point, I cut & shaped the dowel rods on the Battlewagon:

...and here's a test fitting at this point:

Everything looked good, so I glued it all in place. I used some Green Stuff in the holes between the harpoons & the spacers to keep it from being too loose.
I wanted to give it some more Orky touches, so I took these mammoth tusk bits from the Battlewagon sprue:

...and attached them to the front:

I also took some of the spare small armor plates that came with the kit and glued them along the arms:


I also wanted the Deffrolla to have some hydraulic lines like the authentic one does - for this, I used some bits of guitar string:


I drilled some holes with my pin vice and stuck the bits of string in, after giving them a dab of superglue on the ends:

I wanted to give the rolla a few more spikey bits, but I didn't want to overdo it - since they won't be molded in as they are with the GW piece, any bits on the rolla are going to be pretty fragile, so it wouldn't make sense to put big, long spikes all over the rolla - they'd just get broken off the first time I took it to a game. I dug out some Fantasy bits from a Chaos Marauders kit and trimmed off the pointy pieces:

...then I glued them on to the rolla.

Another touch I'm planning on - After this model is painted, I'm going to wrap the Deffrolla with some scale razorwire:

...I think this'll be a cool look, and will keep that bit of chain from looking so asymetrical.
So here's the (mostly) finished product:


...overall, I'm pretty pleased with how it came out, especially considering I have a grand total of something like 46 cents invested in it (granted, I have a lot more odd bitz on hand than a lot of people). Was it worth it? I don't know - it was pretty time consuming. I did this mostly in one sitting, and it took about five or six hours from start to finish. The GW kit would have taken me all of two minutes to assemble. I do think the results were great, and I like that I have something totally unique. I'll probably order one of the GW upgrade sprues when I order my next Battlewagon, just to see how they look side-by-side, and I think I might also try to do a completely unique Deffrolla for each Battlewagon in the army, just for laughs...
You may have noticed some custom bits on the Battlewagon in the above pictures - I'll be doing a post on how I'm "pirate-ifying" these Battlewagons next!
Awesome post! I love seeing detailed and creative posts like this.
ReplyDeleteSomething you can use as razorwire is actually the inside of a pipe cleaner - just burn the rest of the junk off it.
Thanks Dave! That's a good tip about the pipe cleaners - I actually have a bunch sitting around, I'll give it a try.
ReplyDeleteI don't even remember where I got that pack of razorwire - I think I bought it as an afterthought at a convention, and it's been knocking around my bitz box ever since...
5 hours to save 13 dollars.... I know what you make hourly. /Goblin voice from WoW "Time is money friend"
ReplyDeleteThat aside, it looks freaking awesome. If you can streamline the process Id say build more unique rollas!
This comment has been removed by a blog administrator.
ReplyDelete