

After I had five of them, I left them to dry:
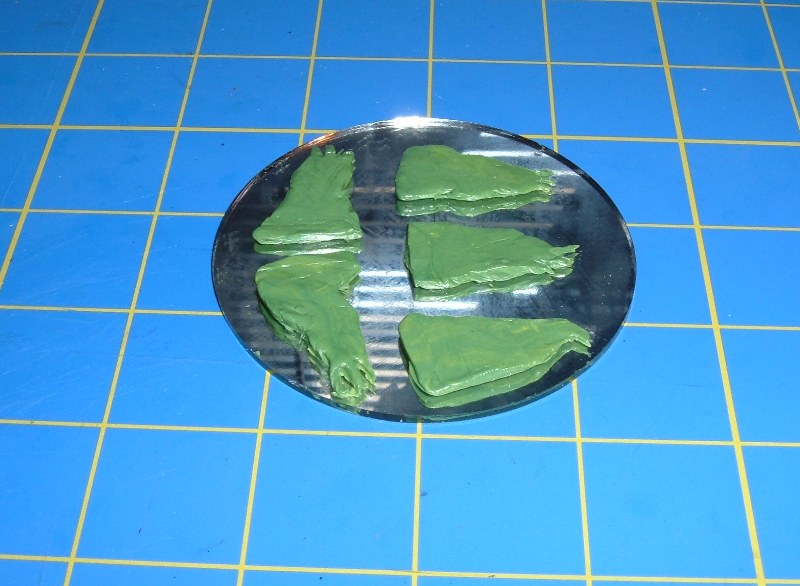
After they were mostly dry (but before I pried them off the mirror) I filed a "notch" along the long edge of each banner - this is mostly to give me a guide for where the mast will go:


After they had completely cured, I popped them off the glass and cleaned them up in a few spots with my files:


The next step was to find a way to make them look like they were actually fastened to the bike's antennas, rather than just glued on. I decided to make "ties" for the flags. I started by mixing some Green Stuff and flattening it out with my sculpting tool:

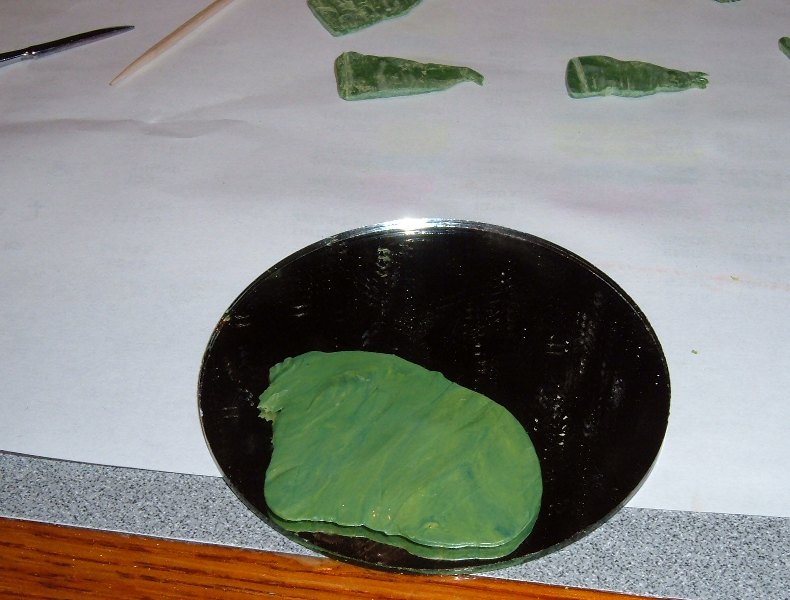
Then I cut a thin "ribbon" with my hobby knife:

...next I cut the "ribbon" into equal segments. I laid a toothpick on my mirror and laid the segments across it - this will simulate the curve of the bike's antenna, and allow the ribbons to hold their shape while they cure:

To give them a bit more detail, I pressed one end of them slightly flat. For the other end, I made a small horizontal cut and spread then end a bit, then rolled a tiny ball of Green Stuff and placed it in the crook of the notch - a few presses with my knife and it looks like a knot:

 After everything was dry, I attached the banners to the bike's antennas:

...then I attached the ribbons and trimmed off the excess:

 At this point I decided they needed something else more "orky", so I drilled a small hole in the top of the finials, clipped off the end of a toothpick, and glued it in there to make a spike:
...and here's one after primer:

I'm working on making an airbrush stencil so I can put the skull-and-crossbones motif on each banner, but I might also use it as an opportunity to test my freehand lettering skills to see if I can get some orky sayings/slogans on them as well...
I'm gonna have to go with Orky Rodger.
ReplyDelete