Monday, November 15, 2010

Resin Bases, Supplies

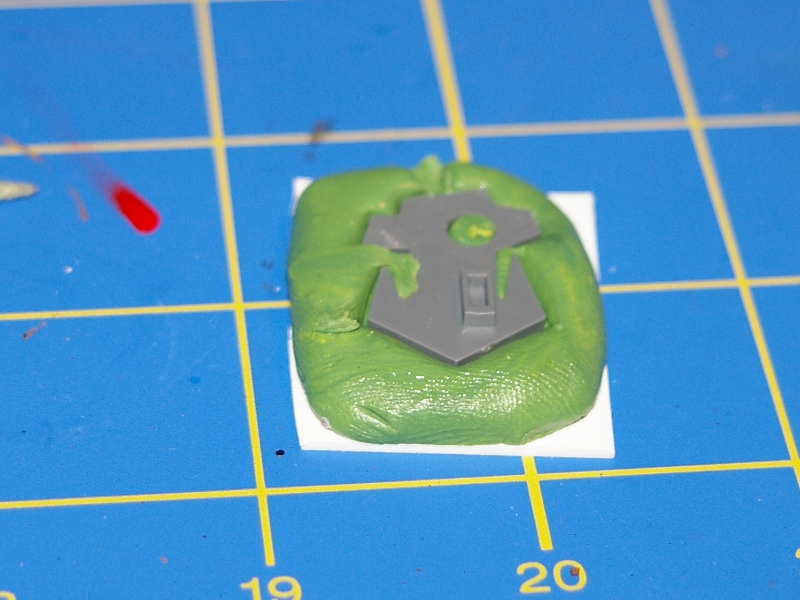
So I spend the other night scrubbing up - bases, that is:


...this has been on my "to do" list for weeks, and I finally just jumped off the couch one night and finished it.  Not fun, but at least now it's done, the bases can be attached to my Freebootas, and painting can finally begin in earnest.

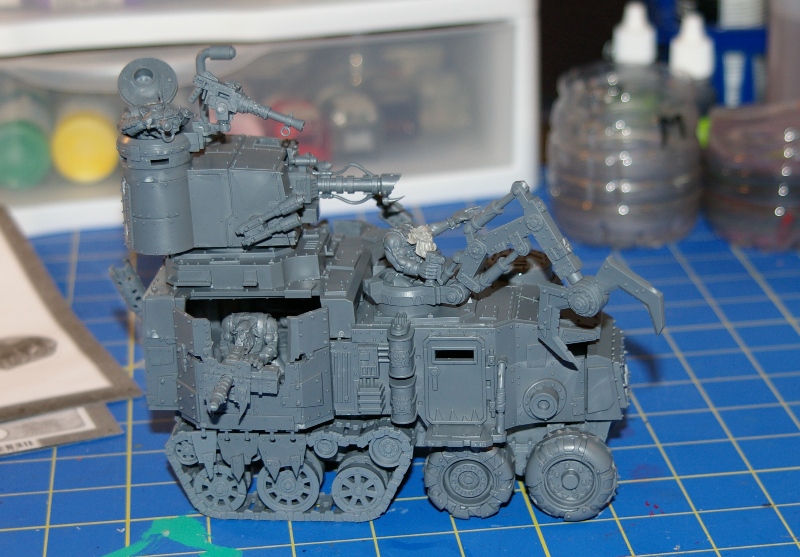
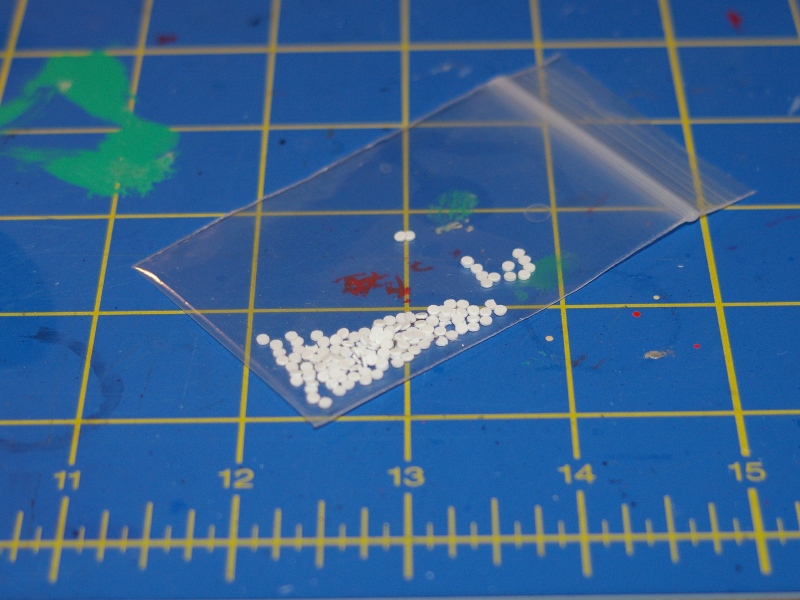
The only other news is that I had to pick up some supplies:


...given the crazy amount of Green Stuff I've been going through lately, I had to order some more.  This puts me at something like 230 grams for the year (!)  I previously scoffed at everyone who warned me off of buying the "strip" version, but I think I did start to notice some premature curing of the seam towards the end of my last batch - and I was going through it fast.  Unfortunately, I forgot that this stuff is pricey - if anyone knows a good place to get it cheap, let me know...

Sunday, November 14, 2010

AdeptiCon 2011!

It's official - bought my badge & reserved a room last night for AdeptiCon!  W00t!  In past years my "convention season" didn't usually start until late June / early July with Origins, so I'm looking forward to getting an early start this year.  Now I just need to decide if I've got the guts to enter the Crystal Brush competition - I know some of the people who will be entering, and I'm sure I've got a snowball's chance in hell of actually winning anything, but I guess I have to start somewhere...

Saturday, November 13, 2010

R.I.P. Heroscape

I got an email from a friend today pointing out that Wizards of the Coast has decided to cancel the Heroscape line.  This is a bummer - I really enjoyed Heroscape, even though I didn't get to play it that often.  Heroscape had great-looking pre-painted miniatures with fun themes, an ingenious configurable terrain system, and easily accessible rules - in short, it was a miniature wargaming system that eliminated all of the intimidating things that turned off casual boardgamers / RPG'ers / CCG players / & skirmish gamers from larger-scale miniature gaming in the first place.  The good news is that I still have several NIB master sets that I bought from someone in my gaming group, and maybe we'll see a slight influx of players looking into other miniature games...

Friday, November 12, 2010

New Arrivals

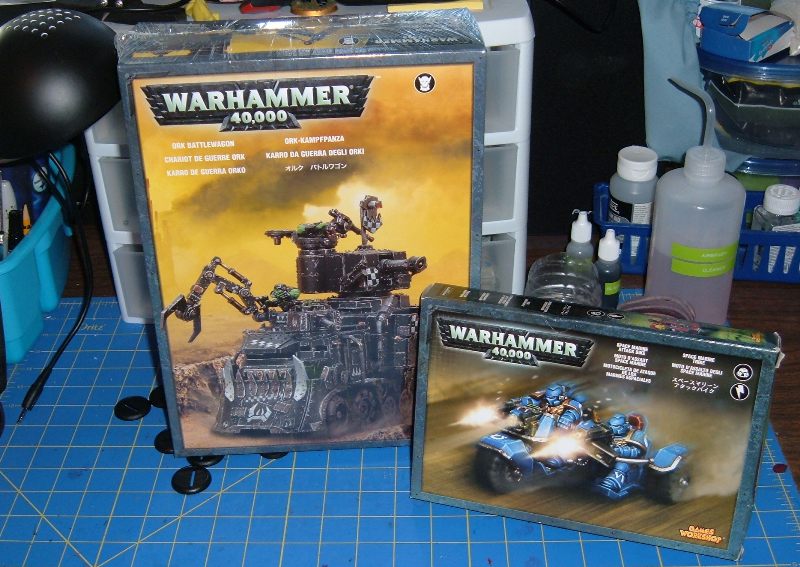
Got some new models in:


...the next Battlewagon in the fleet, and a Space Marine Attack Bike.  The Battlewagon came from my local shop, and the Attack Bike came from lars4life - he found a few models he had packed away that he had no desire to build & was going to put them on eBay, but he offered me first crack at them.  He never got around to picking up the 5th edition rulebook, and I had an extra mini-rulebook from Assault on Black Reach, so I proposed a trade, and we both walked away happy.  This works out great:  I've cobbled enough bitz together for two bikers, and was actually planning to build an Attack Bike with them - but, now that I have the actual model, I can build the "for laughs" project that I mentioned in this post...

Wednesday, November 10, 2010

More Green Stuff Press Molds

So the Ork Battlewagon kit came with an awesome skull piece, that's part of the periscope assembly.  I knew this could be an awesome piece to use for embellishments, so I decided to make some Green Stuff press molds of it. 


After I made the mold, I realizes something - the hole in the original piece (which is where the periscope passes through) made a perfect circular impression over one eye - almost like an eye patch.  What could be better for Freeboota iconography?  I decided to see if I could emphasize this.  First, I took a scribe and poked some holes around the circular part - this will give the impression of rivets when a new piece is molded:


Then I cut some very fine strips of plasticard, using a strip cutter:


...I clipped off a few small pieces of the strip and glued them into the mold - this will look like the strap on the eyepatch:


After everything was dry, I lubricated the mold:


Then I cast my first piece:


Overall it worked great!

I also used this opportunity to cast more of the small skulls I made when I built my Trukk model - I plan on using a lot of these, so I actually made a whole new mold, so I can turn them out twice as fast:


Monday, November 8, 2010

Freeboota-ifying A BattleWagon

...so as I mentioned last time, I felt I needed to add some pirate touches to my first Battlewagon:


The first touch was easy enough - I gave the Ork operating the Lifta Droppa one of the MaxMini pirate Ork heads:


The next thing I turned my attention to was the back - there was a big, open area.  Obviously it was sculpted that way because it makes sense (troops need to get in & out), but visually, it just looked like a big empty spot to me.  It needed a "pirate-y" touch - and what's more pirate-y than a CANNON?!?


These were deck guns I found on eBay - I assume they were aimed at historical/naval wargamers, and the creator had no idea about my nefarious intentions.  The main issue:  these sculpts were uuuuugly - they were more of a "vaugely cannon-shaped blob of metal" than anything.  I spent a ton of time scraping & filing to clean them up.  Once it was in a decent state, I drilled out the barrel and glued it into the rear of the Battlewagon:


Keeping with the "nautical" theme, I got out one of my Razig weapon packs from Reaper, because I remembered that they included an anchor:


I cut the anchor off the sprue along with a length of chain from the other sprue.  I filed one side of the anchor down flat, so it would sit flush against the side of the Battlewagon.  I picked and appropriate spot and glued it down:


Then I simply bent the chain over the the lip of the opening:


Fluff-wise, I'd say the anchor is used for... umm... hey, why don't you SHUT UP ALREADY?!?  (If you're actually asking me to justify the technology of giant green asexual space-monsters that dress like extras from an Errol Flynn movie, you're probably thinking a bit too hard about it.)   ;-)

Next, I went looking for spots to put some of the custom armor plates that I made - there was a pretty obvious space right up front:


I also added some of the small skulls that I molded from the Trukk kit's hood ornament to the doors:


I also eventually plan to convert some Gretchin and have them hanging off the sides, loading cannons, etc.

Sunday, November 7, 2010

Battle Report: Ultramarines vs. Red Scorpions

So lars4life & I managed to get out to our local shop yesterday and play a game - his Red Scorpions vs. my Ultramarines:


...since I'm a n00b when it comes to actually playing 40k, and he hasn't played a proper came in years, we didn't really worry about following the force organization chart or using any particular list - we just picked  identical units (1 tac squad, 1 terminator squad, and a dreadnaught) and started playing, mainly to work out the rules.  We spent half the game with our noses in the rulebooks, and had to call someone over for a ruling at one point, but it was a lot of fun - I've been wanting to play at the store for some time, but was kind of hesitant since I don't have much experience.  Needless to say, all they guys at the shop were friendly, and I even got a compliment on my Ultramarines' paint job.  I actually won the game, but this was mainly because 1) lars4life was playing his Red Scorpions as vanilla marines, and wasn't using any special characters, 2) he was plagued by lousy dice rolls when trying to bring in his reserves, and couldn't bring his Terminators in until round 3, and 3) we weren't really trying to use any tactics or strategy - we just ran in to combat so we could start working out the rules.  I have no doubt he could wipe the table with me if he was trying at all.

We're planning on playing again (and maybe one of us will remember to bring a camera next time, instead of using a crappy cellphone camera), and one of the guys at the shop was telling us about an upcoming tournament, as well as a campaign that is starting in January...

Wednesday, November 3, 2010

Scratchbuilding A Deffrolla

So I finished up the first of the Battlewagons:


...there it is completed, pretty much by the book - it is missing one thing:  I wasn't going to miss the opportunity to make a Green Stuff press mold of the cool Ork skull periscope cover:


...anyway, as I mentioned before, my Battlewagons are going to have Deffrollas, but I'm not convinced I want to spend the money on the Games Workshop Battlewagon upgrade pack - it includes a Deffrolla, a Killkannon, and a Grot rigger.  I already have some leftover Killkannons and a whole box of Gretchin that I'm probably going to model as fluff, so I'd be paying $13 for just the Deffrolla, and it looks dead easy to build with stuff that I mostly have on hand already, so I thought I'd give it a shot.

This is my starting point - 3/4" PVC couplers:


I picked these up and the local home improvement store in the plumbing aisle - they were around 23 cents apiece.  If you're the kind of person who saves every empty bottle & container that comes your way for modeling purposes, there are lots of other possibilities that could be approximately the right size - pill bottles, tomato paste cans, etc.  Space is at a premium in my house and my wife put an end to my hoarding, so I just picked these up.


I wound up going with the second configuration - one coupler and one reducer.  This will actually require some creative use of spacers later, but the two couplers together just looked too wide to me.  I glued them together with a generous amount of gap-filling superglue:


To close up the ends, I traced the openings onto a piece of plasticard and cut them out:


Then I glued them over the ends:


I cleaned up the edges of the plasticard with my jeweler's files.

Next, I needed a way to cover up the big seam between the two PVC pieces, and I wasn't really looking forward to using Green Stuff to close the seam.  Digging through my conversion bits, I found a sprue of chains from the Reaper Razig weapons pack:


I cut off a few of the chains, and glued them into the gap:


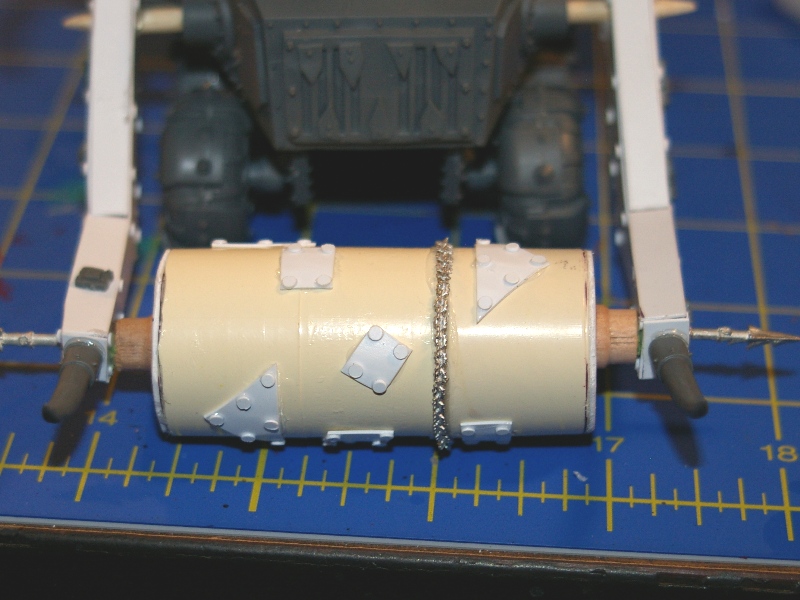
Next, I wanted to add some embellishment to the the rolla, as well as cover up some of the imperfections in the surface of the PVC (apparently, manufacturers of plumbing parts don't have the same high standard for their moldings as GW).  I cut a strip off of a sheet of plasticard, and just cut it into random rectangles & triangles:


...then I glued them onto the rolla.  I bent the larger ones around the barrel of my hobby knife first, to ensure they conformed to the shape of the cylinder while the glue was drying.


To give them a bit more detail, I turned to a baggie of rivets I keep on hand - I previously made these by punching out scraps of plasticard with a tiny hole punch:


I used a toothpick to superglue the rivets on to the plates:


Next, I decided to turn my attention to how I was going to attach the Deffrolla to the Battlewagon.  I started by using my straight edge to cut some strips of foamcore board:


Then, I just started "eyeballing" it - holding the strips up to the Battlewagon, trimming them, playing with the angles, the thickness, etc. - once I was done, I had something that looked like this:


Then I glued them together using my hot glue gun:


The foamcore board is actually just to give me the shape & thickness that I want: it's too flimsy to hold up over time - for that, we're going to cover it with plasticard.  I started by tracing the foamcore shapes onto plasticard:


...then I cut out the shapes and used my hot glue gun to attach them to the foamcore:


I repeated this process for every side, until the original piece was entirely "encased" in plasticard:


...then, I went back to my bag 'o rivets and added some embellishment to the arms:


Next, I need to find a way to attach the arms to the Battlewagon itself - after digging through my supplies, I found a bag of small dowel rods:


These just happen to be just the right size to fit in the mounting points on the Battlewagon:


...I will cut them to size and shape them a bit later.  To attach them to the support arms, I drilled a hole:


Then I opened the hole up with my hobby knife until it was big enough to insert the dowel rod through:


Now, I need to figure out how to attach the rolla itself to everything else.  After test fitting everything together a few times, it became obvious that I was going to need some kind of spacer between the arms & the rolla for it to look right.  After going back to my supplies again, I found these tiny wooden spools I picked up at the craft store at some point:


They were too wide, so I cut one in half with my utility knife:


Then, I found the approximate center of the rolla with my straight edge (this is where having a cutting mat with a grid comes in handy) and glued them on:


Now, to make the connection from the lower end of the arms and the rolla, I went back to the Razig weapons sprue - but this time I'm concerned with the harpoons:


At this point, I cut & shaped the dowel rods on the Battlewagon:


...and here's a test fitting at this point:


Everything looked good, so I glued it all in place.  I used some Green Stuff in the holes between the harpoons & the spacers to keep it from being too loose.

I wanted to give it some more Orky touches, so I took these mammoth tusk bits from the Battlewagon sprue:


...and attached them to the front:


I also took some of the spare small armor plates that came with the kit and glued them along the arms:


I also wanted the Deffrolla to have some hydraulic lines like the authentic one does - for this, I used some bits of guitar string:


I drilled some holes with my pin vice and stuck the bits of string in, after giving them a dab of superglue on the ends:


I wanted to give the rolla a few more spikey bits, but I didn't want to overdo it - since they won't be molded in as they are with the GW piece, any bits on the rolla are going to be pretty fragile, so it wouldn't make sense to put big, long spikes all over the rolla - they'd just get broken off the first time I took it to a game.  I dug out some Fantasy bits from a Chaos Marauders kit and trimmed off the pointy pieces:


...then I glued them on to the rolla.


Another touch I'm planning on - After this model is painted, I'm going to wrap the Deffrolla with some scale razorwire:


...I think this'll be a cool look, and will keep that bit of chain from looking so asymetrical.

So here's the (mostly) finished product:


...overall, I'm pretty pleased with how it came out, especially considering I have a grand total of something like 46 cents invested in it (granted, I have a lot more odd bitz on hand than a lot of people).  Was it worth it?  I don't know - it was pretty time consuming.  I did this mostly in one sitting, and it took about five or six hours from start to finish.  The GW kit would have taken me all of two minutes to assemble.  I do think the results were great, and I like that I have something totally unique.  I'll probably order one of the GW upgrade sprues when I order my next Battlewagon, just to see how they look side-by-side, and I think I might also try to do a completely unique Deffrolla for each Battlewagon in the army, just for laughs...

You may have noticed some custom bits on the Battlewagon in the above pictures - I'll be doing a post on how I'm "pirate-ifying" these Battlewagons next!