Wednesday, August 3, 2011

GenCon 2011!


Starting today, I will be at one of my favorite events every year, GenCon!  As always, I'll be posting updates throughout the con to my Twitter account, so check it out!  Check back next week for a complete write-up and pictures!

Monday, August 1, 2011

Airbrush Parts

Yay, I got some parts for one of my airbrushes in today!


These parts are for my Badger 360 - I found out that I can swap out the needle, nozzle & tip from "medium" to "fine":

 new nozzle & spray regulator

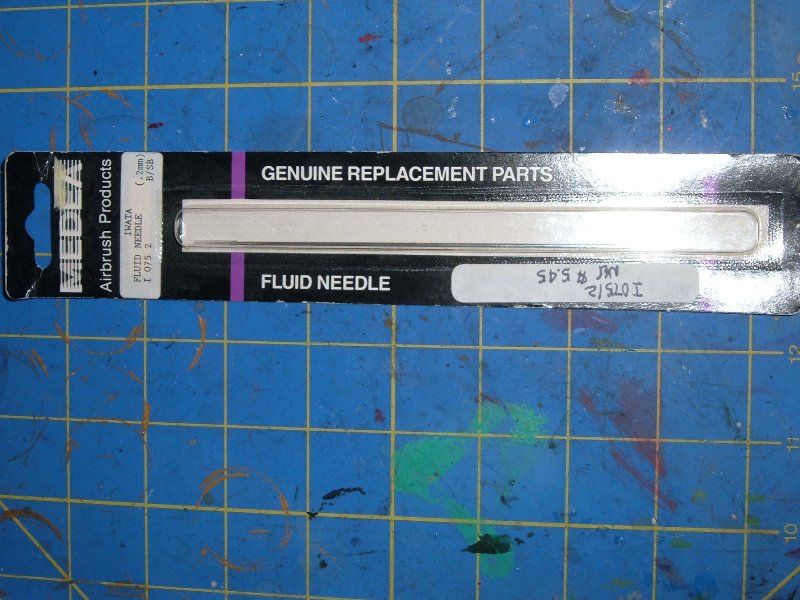
 new needle

This allows me to achieve much finer lines:


I also got in a new regulator:


I ordered one of these previously, and it was a leaky piece of junk.  This one seems to be working properly...

Friday, July 29, 2011

New Hobby Stuff!

I stopped by the out-of-the-way hobby shop the other day, and picked up some interesting stuff:


As I've mentioned before, this shop is mostly model railroad / scale model / radio-control -oriented, so a lot of times I find some interesting stuff that I don't see at the FLGS.

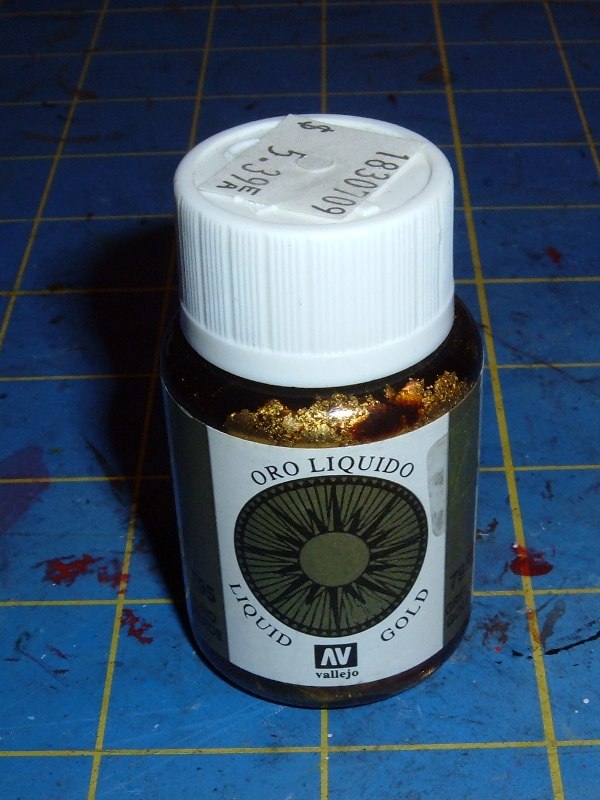
I grabbed some Vallejo "Liquid Gold" metallic paint:


...this looks like it has a WAY higher metallic content than the Game Color line - I have some ideas for my Grey Knights that this might work for.


Nest, I got some Micro Mask, a liquid masking film for airbrushing:


Since I will be painting the Grey Knights entirely with the airbrush, there are some areas where I think this may come in handy...

I also got some more glue (oooh, exciting!)


...and some Testor's sanding films.  I actually used to use these years ago, when I built model cars as a kid - they're kinda handy, and they last a LOT longer than regular sandpaper - once they get clogged, you can "snap" them and clear out a lot of the dust.  They're also stiffer than sandpaper, so you can cut strips to get into tight places and they won't collapse immediately like paper-backed sandpaper would.


I also got a new .005 Micron pen:


...the one I was using wasn't this small, and the tip was getting kinda smushed anyway.  Stay tuned for write-ups & reviews of all of the above!

Wednesday, July 27, 2011

Today's Find: Iwata Eclipse

I found a pretty good deal on Craigslist the other day - an Iwata Eclipse airbrush & a bagful of spare parts for $25:


As I mentioned in my article on airbrushing, the Eclipse is a good choice for airbrushing models - this particular one is a side-feed brush, so it wouldn't seem to be ideal, but the Eclipse line is specifically designed to shoot thicker paints, so it's not a problem.  The seller told me that his father was a graphic designer and had recently passed away - he was cleaning out the house, and put these on Craigslist.


The nice thing is that the airbrush came with spare 0.2mm needles & nozzles:


...the current Eclipse isn't available in 0.2mm, and can't be converted to my knowledge - you have to spend another hundred bucks on the Iwata High Performance Plus model to get 0.2mm.  At some point the Eclipse series was redesigned (the new models have a cutaway handle) and Iwata must have changed this.  If you look at the parts list for the High Performance Plus models, at the bottom there is a listing for the needle & nozzle for the "Original HP-B" - that's what this is.  Pretty nice to get a 0.2mm Iwata airbrush for twenty-five bucks.  The brush was pretty gummed up - I got the feeling it had been sitting for at least a decade, and I had to resort to pliers to get the old needle out.  I gave the airbrush a thorough cleaning & put in one of the sets of still-in-the-package needle & nozzle, and it works great!

I also decided to greatly simplify my airbrush setup - previously I was running a manifold with a separate hose for each of my airbrushes, which required a ton of adapters & fittings, and was causing me to lose pressure.  I went to a single-hose setup and added quick disconnects to all my airbrushes - here is a pic of everything that was removed from my setup:


...yeah, that's probably gonna make a difference...

Monday, July 25, 2011

Khador Widowmakers

I built some Khador Widowmakers the other day:


I had actually been looking for these for weeks, but they were rarer than hen's teeth, even on eBay.  I finally found a seller on Amazon that had a box in stock.

Just like most of the Winter Guard models, they're cast in one piece - I clipped off the tabs & filed the bottoms of their boots, since they're going to get my custom snow bases:


Cork for the "slate" on the bases:


Pins inserted for mounting:


Bases were given a coat of PVA glue & dunked in my bag of basing sand:


Ready for primer!

Friday, July 22, 2011

Terminator Librarian

I was on a side of town that I don't usually get to today, so I stopped by the hobby shop over there.  I wound up picking up a Terminator Librarian for my Grey Knights:


...I was actually somewhat interested in picking up one of these in "Finecast", since it's really the only GW model that's definitely been on my shopping list for a while.  But, this store apparently didn't get the memo about Finecast - they only had one Finecast model in stock (an Emperor's Champion, which I already have in metal) and everything was still at the old prices, so I grabbed it.  (It's primarily a train/RC model-oriented shop, so I wasn't entirely surprised...)

Wednesday, July 20, 2011

Salt & Hairspray Weathering Tutorial

For the past year or so, I've seen a lot more people talk about using salt & hairspray to achieve a weathered/aged look for their vehicles - since I had a whole mess o' Ork vehicles waiting to be painted for my Freebootas, I decided to give it a shot.

To start with, you paint your model with what you want the "weathered" color to be (a rust color, in my case):


I used a can of Krylon "Ruddy Brown" primer - I think it was around $4 at Wal-Mart.  The label says it's for "Metal - Wood - Wicker - More".  Unfortunately it doesn't say anything specifically about whether or not it's safe for plastic.  I've never had a problem with Krylon in the past, but to be sure, I grabbed a model that I wasn't particularly attached to (a Warbuggy I got in a Craigslist lot):


After spraying it & waiting for it to dry, I didn't notice any adverse effects - so I grabbed the rest of my models and let 'er rip:


I sprayed them from several angles to get good coverage:


After they dried, I was ready for the next step:


This was the cheapest can of hairspray I could find - I actually had to dig around to find a can that wasn't four dollars or more.  I finally found this one at the store on the very bottom shelf, in the corner, for 97 cents.

Then I grabbed some salt:


This was free, 'cause I grabbed it out of our pantry.  IMPORTANT: YOU MUST USE KOSHER SALT FOR THIS TECHNIQUE.   Regular table salt (AKA "iodized" salt) will not work.  Why?  Well, if you look at "iodized" salt under a magnifying glass, it looks like this:


...it's almost a perfect cube.  The shape of the salt is going to determine the pattern of the weathering - unless you live in a world where rust spots form in perfect geometric squares, it's gonna look terrible if you use iodized salt.

This is what "kosher" salt looks like:


...it's irregular, random-sized, broken pieces (this is due to how it's manufactured).  That's what we want.

I dumped some of the salt into a bowl to make it easier to work with:


Then I sprayed my models with the hairspray:


...and sprinkled the salt over them:


I worked in sections - I would do the tops of the models first, then after that dried, I did the sides, etc.


Then I gave the models a coat of GW Chaos Black:


...about this time, I heard something going on outside my patio: lawnmowers!  Crap!  The gardeners for my complex had come to mow the grass - threatening to get grass clippings all over my wet models!  I stood by until I was pretty sure the first coat of black had dried, then I rounded up the models and stashed them in my kitchen:


Later that afternoon after the gardeners had left, I took the models outside and finished spraying them black.  Again, I sprayed them from several angles to get complete coverage:


After the paint had completely dried, I took the models inside, held them under lukewarm water, and scrubbed the salt off with an old toothbrush:


It will take a while for the salt to come off - it seems to be easier once the model gets thoroughly "saturated" with water.  (I have a suspicion that submerging the whole model in a bucket of lukewarm water would be effective, but I wasn't willing to try it).

Here's the result after the salt is scrubbed off:


(click to embiggen)

...you can see that the rust-colored paint shows through where the salt was covering the model, leaving a "flaky rust" effect.

Some random thoughts on the process:

-It uses a lot of paint - I used two cans of primer & two cans of Chaos Black (of course, I did five Battlewagons, three Trukks, five bikers, three Deffkoptas & a Warbuggy).

-Getting all the salt off can be a pain - I scrubbed until I thought it was all off, let the model air dry, then had to go back again to get some spots I missed, and to get rid of the white, salty "film" that was left in some spots.

I wish I had used more salt - I read through several tutorials on the Internet beforehand, and a common mistake on the first attempt was using way too much salt, so I used it sparingly.  Unfortunately, I think I underestimated how much salt fell off while I was turning the model during painting, as well as their unscheduled trip back into the house, even with the hairspray holding it on.  There was one model where I was afraid that I used way too much salt, and it came out the best out of all of them.

-This is not a "one-step" solution to weathering; the model is going to need some traditional weathering done before I wam completely happy with it.

-This method can be kind of rough on your models - three or four of my vehicles needs parts re-attached that broke off in the scrubbing.

So would I do it again?  Probably, although this method is usually presented as a time-saving method, and if you're doing seventeen vehicles at once, it still takes a lot of time - pretty much my entire day off...

Monday, July 18, 2011

Khador Mortar Crew

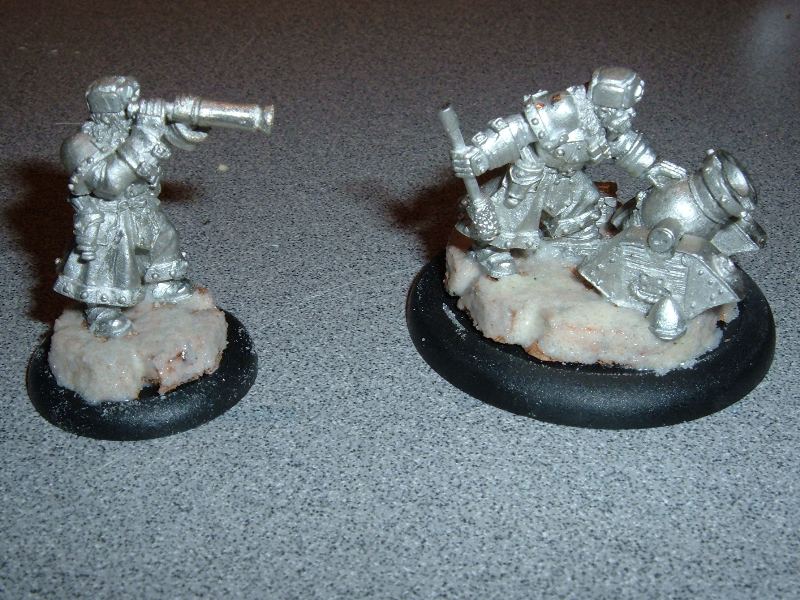
I finished up a Winter Guard Mortar Crew the other day:


...this is to compensate for my serious lack of ranged/AoE weapons in my Khador force - I'll probably wind up buying another one of these, and deploying them on opposite sides of the table to lay down fire support.  The sculpt is really nice, although it was a pain to get the bombardier & cannon all lined up correctly...